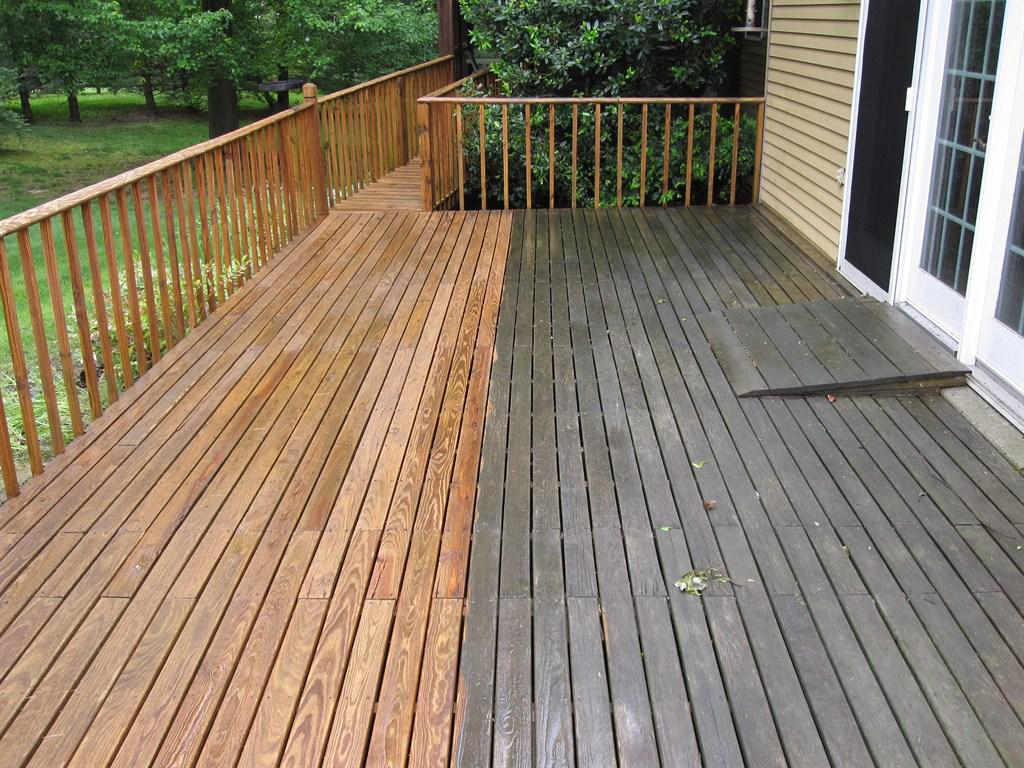
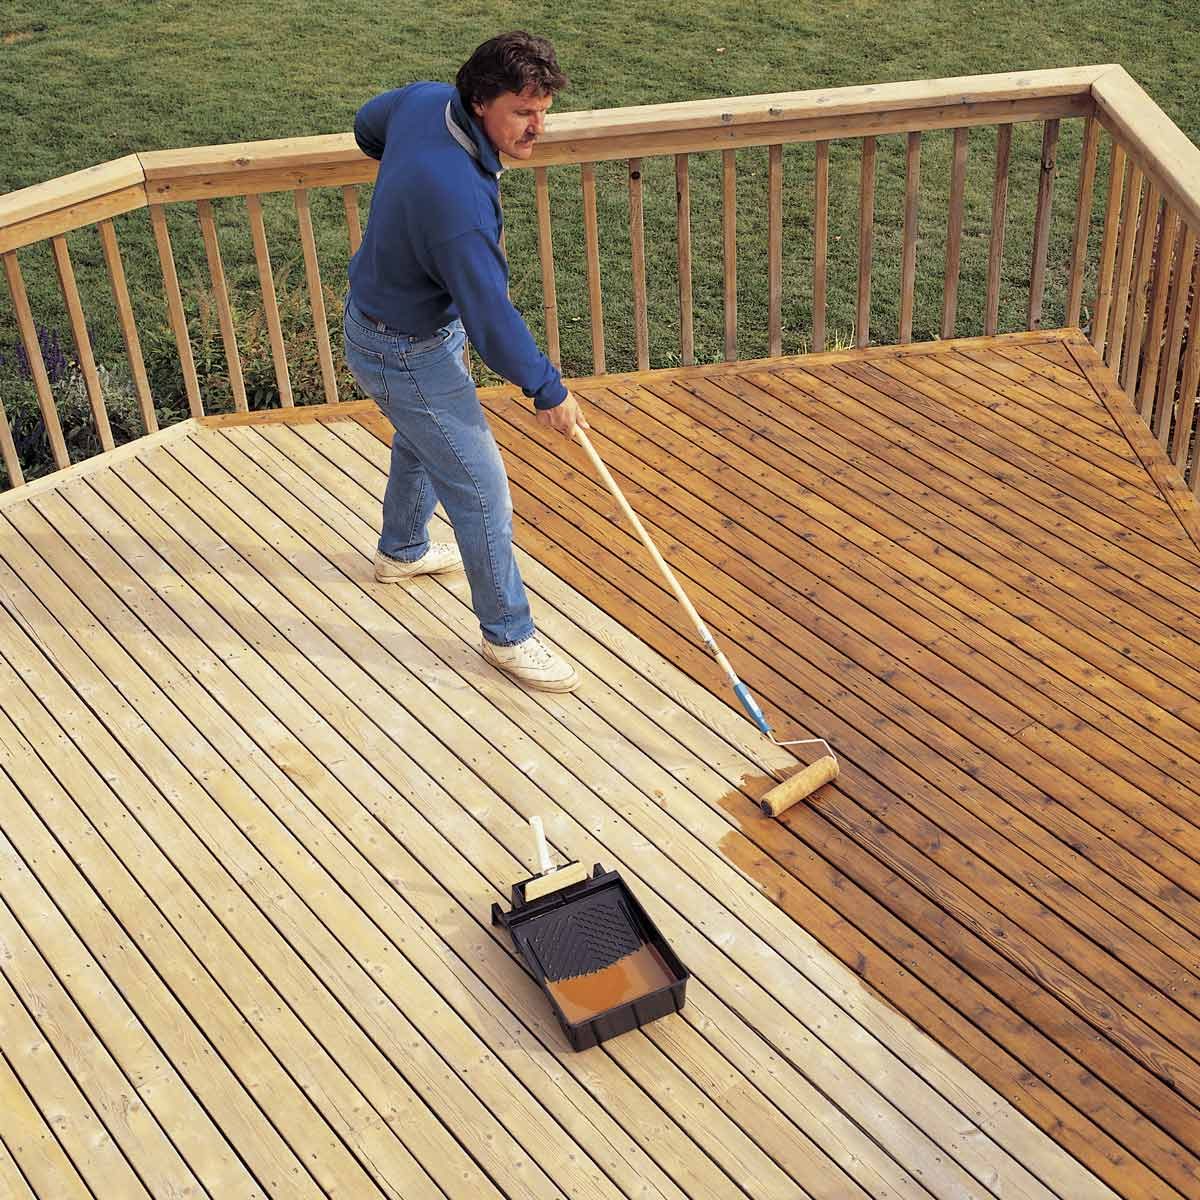
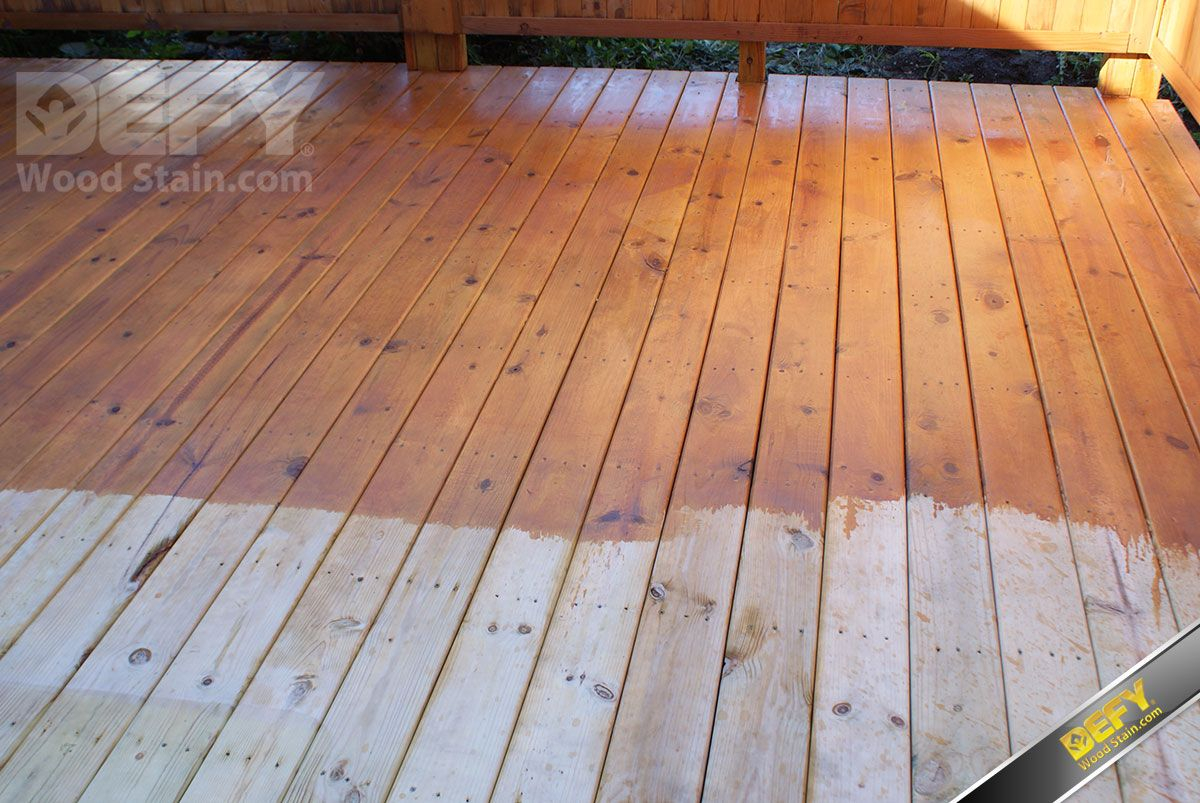
Revitalizing an aged pressure-treated wood deck with a fresh coat of stain can enhance its appearance and extend its lifespan. This guide will delve into the nuances of staining pressure-treated wood, providing insights into stain types, preparation techniques, application methods, color selection, maintenance tips, and troubleshooting common problems.
Whether you’re a seasoned DIY enthusiast or a homeowner seeking professional assistance, this comprehensive resource will empower you with the knowledge and confidence to achieve a stunning stained deck that will elevate your outdoor living space.
Types of Stain Suitable for Pressure Treated Wood
Pressure treated wood is a type of lumber that has been treated with preservatives to protect it from rot, decay, and insects. It is commonly used for outdoor projects such as decks, fences, and patios.
When staining pressure treated wood, it is important to use a stain that is specifically designed for this type of wood. There are three main types of stains that are suitable for pressure treated wood: oil-based, water-based, and solid stains.
Oil-Based Stains
- Oil-based stains are made from a mixture of oil and pigment. They are very durable and provide excellent protection against the elements.
- Oil-based stains are also very easy to apply and can be used on both new and old wood.
- However, oil-based stains can be slow to dry and may require multiple coats to achieve the desired color.
Water-Based Stains
- Water-based stains are made from a mixture of water and pigment. They are less durable than oil-based stains, but they are also less toxic and easier to clean up.
- Water-based stains are also more environmentally friendly than oil-based stains.
- However, water-based stains can be more difficult to apply than oil-based stains and may require multiple coats to achieve the desired color.
Solid Stains
- Solid stains are made from a mixture of pigment and resin. They are very durable and provide excellent protection against the elements.
- Solid stains are also very easy to apply and can be used on both new and old wood.
- However, solid stains can be more expensive than oil-based or water-based stains.
Preparing the Deck for Staining
Before applying stain to your pressure-treated wood deck, it’s crucial to prepare the surface to ensure proper adhesion and a long-lasting finish.
This preparation involves cleaning the deck to remove dirt, mildew, and any old stain residue. It’s also essential to allow the deck to dry thoroughly before staining to prevent the stain from peeling or flaking.
Cleaning the Deck
- Start by sweeping or blowing away loose dirt and debris from the deck’s surface.
- Mix a cleaning solution of one part bleach to four parts water in a bucket.
- Apply the cleaning solution to the deck using a deck brush or a garden sprayer.
- Let the solution sit for 10-15 minutes, allowing it to penetrate and loosen the dirt and mildew.
- Scrub the deck vigorously with the deck brush to remove the loosened dirt and mildew.
- Rinse the deck thoroughly with clean water to remove the cleaning solution and any remaining dirt or debris.
Removing Old Stain
- If the deck has been previously stained, you may need to remove the old stain before applying a new one.
- Use a chemical stripper specifically designed for removing deck stains.
- Follow the manufacturer’s instructions for applying and removing the stripper.
- Once the old stain has been removed, rinse the deck thoroughly with clean water to remove any stripper residue.
Drying the Deck
After cleaning or stripping the deck, it’s crucial to allow it to dry thoroughly before applying stain.
Moisture trapped under the stain can cause it to peel or flake, so it’s essential to wait until the deck is completely dry to the touch.
Depending on the weather conditions, it may take several days for the deck to dry completely.
Staining Techniques
Choosing the Right Application Method
The method you choose to apply stain will depend on the size and shape of your deck, as well as your personal preferences. Each method has its own advantages and disadvantages, so it’s important to choose the one that’s right for you.
| Application Method | Pros | Cons |
|---|---|---|
| Brushing | – Provides the most control over the application – Allows you to work in small areas – Can be used to create a variety of finishes |
– Can be time-consuming – Requires a lot of effort |
| Rolling | – Faster than brushing – Easier on your back – Provides a more even finish |
– Not as much control over the application – Can be difficult to get into tight spaces |
| Spraying | – The fastest and easiest method – Can be used to cover large areas quickly – Provides a very even finish |
– Can be more expensive than other methods – Requires special equipment – Can be difficult to control the overspray |
Achieving an Even and Consistent Finish
No matter which application method you choose, it’s important to apply the stain evenly and consistently. This will help to ensure that your deck has a professional-looking finish. Here are a few tips for achieving an even and consistent finish:
- Use a high-quality brush, roller, or sprayer.
- Apply the stain in thin, even coats.
- Overlap each stroke by about 50%.
- Work in small sections at a time.
- Allow the stain to dry completely before applying a second coat.
Color Selection and Testing
Selecting the right stain color is crucial for achieving the desired outcome for your deck. Consider the existing wood tone and the ambiance you wish to create. For instance, if the wood has a reddish hue, a warm brown stain will enhance its natural beauty. If you prefer a more modern look, a gray or black stain can provide a striking contrast.
To ensure you make an informed decision, it’s advisable to test different colors on a small, inconspicuous area of the deck before committing to the entire surface. This will allow you to observe how the stain reacts with the wood and how it appears under different lighting conditions.
Maintaining a Stained Deck
Extending the lifespan of your stained deck requires consistent cleaning and maintenance. Regular cleaning removes dirt, debris, and mildew, while resealing protects the wood from the elements and extends the stain’s life.
Step-by-Step Cleaning and Resealing
Materials:
- Deck cleaner
- Pressure washer (optional)
- Deck brush or sponge
- Deck sealant
- Roller or brush
Steps:
- Clean the deck: Apply deck cleaner according to the manufacturer’s instructions. Use a pressure washer or deck brush to scrub the surface. Rinse thoroughly.
- Allow to dry: Let the deck dry completely before resealing.
- Apply sealant: Stir the sealant thoroughly. Apply a thin, even coat using a roller or brush. Allow the first coat to dry before applying a second coat.
Recommended Cleaning Products and Techniques
Choose cleaning products specifically designed for pressure-treated wood decks. Avoid harsh chemicals or detergents that can damage the wood.
- Pressure washing: Use a pressure washer with a low-pressure setting to remove dirt and debris.
- Deck cleaner: Apply deck cleaner according to the manufacturer’s instructions. Use a deck brush or sponge to scrub the surface.
- Soft bristle brush: Use a soft bristle brush to remove dirt and debris from the deck’s surface.
- Baking soda: Create a paste of baking soda and water. Apply the paste to the deck and scrub with a soft bristle brush.
Troubleshooting Common Staining Problems
Applying stain to a pressure-treated wood deck is a common home improvement project, but it’s not without its challenges. Uneven coverage, blotching, and peeling are just a few of the problems that can occur. This guide will help you identify and fix these common staining problems so that you can achieve a beautiful, long-lasting finish.
Identifying and Fixing Common Staining Problems
The following table summarizes the most common staining problems, their causes, and recommended solutions:
| Problem | Cause | Solution |
|---|---|---|
| Uneven coverage | Improper application, dirt or debris on the wood | Clean the wood thoroughly before staining, apply the stain evenly, and use a brush or roller to work the stain into the wood |
| Blotching | Uneven absorption of the stain | Apply a pre-stain conditioner to the wood before staining, use a light sanding to smooth out the surface, and apply multiple thin coats of stain |
| Peeling | Improper surface preparation, poor quality stain | Strip the old stain, sand the wood to remove any loose fibers, and apply a high-quality stain |
| Fading | Exposure to sunlight and weather | Apply a UV-resistant stain, and re-stain the deck every few years |
| Mildew or mold | Moisture | Clean the deck regularly, and apply a mildewcide if necessary |
Last Word
By following the steps in this guide, you can transform your old pressure-treated wood deck into a vibrant and inviting outdoor haven. Remember to consider the factors discussed, experiment with different stain colors, and maintain your deck regularly to ensure its longevity. With careful preparation and execution, you’ll achieve a beautiful and durable stained deck that will provide years of enjoyment.


