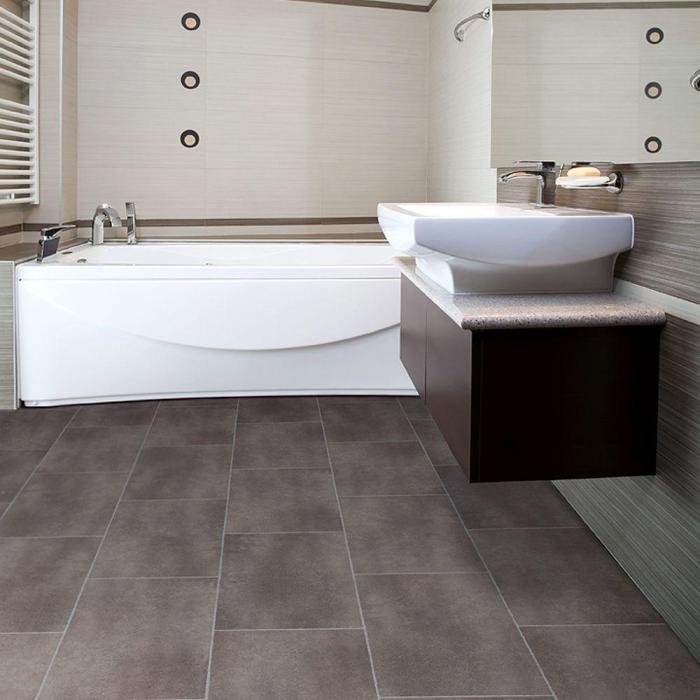
Tired of the same old bathroom décor? Breathe new life into your space with the effortless charm of self-adhesive floor tiles. These innovative tiles offer a hassle-free solution for a bathroom makeover, allowing you to transform your floor without breaking the bank or hiring a professional.
From classic marble to intricate geometric patterns, self-adhesive floor tiles come in a wide array of designs and materials. Whether you’re seeking a subtle refresh or a bold statement, you’re sure to find tiles that complement your bathroom’s unique style.
Introduction
Self-adhesive floor tiles offer a convenient and cost-effective way to update the look of your bathroom. These tiles are easy to install, requiring no special tools or adhesives. They are also durable and water-resistant, making them ideal for bathrooms.Self-adhesive floor tiles are available in a wide variety of styles, including stone, ceramic, and wood.
They can be used to create a classic or modern look, depending on your preference.
Types of Self-Adhesive Floor Tiles
There are three main types of self-adhesive floor tiles:
- Peel-and-stick tiles: These tiles have a peel-and-stick backing that makes them easy to install. They are the most affordable type of self-adhesive floor tile.
- Interlocking tiles: These tiles have interlocking edges that make them easy to assemble. They are more durable than peel-and-stick tiles, but they are also more expensive.
- Glueless tiles: These tiles have a special backing that allows them to be installed without the use of adhesive. They are the most expensive type of self-adhesive floor tile, but they are also the most durable.
Materials and Tools
To embark on this DIY bathroom transformation, it’s crucial to gather the necessary materials and tools. Ensuring you have everything you need will streamline the process and prevent unnecessary delays.
Preparing the bathroom floor is paramount before laying down the self-adhesive tiles. A clean and level surface will guarantee a smooth installation and prevent any issues with adhesion.
Materials
- Self-adhesive floor tiles (quantity depends on bathroom size)
- Measuring tape or ruler
- Utility knife or scissors
- Floor cleaner and degreaser
- Cleaning cloths or mop
Tools
- Straight edge or chalk line
- Trowel or squeegee (optional, for smoothing out tiles)
- Rubber mallet or rolling pin (optional, for pressing down tiles)
Installation Process
Installing self-adhesive floor tiles is a straightforward process that can be completed in a few hours. Here’s a step-by-step guide to help you achieve a professional-looking result:
Before you begin, ensure you have gathered all the necessary materials and tools. Prepare the floor surface by cleaning and drying it thoroughly. Remove any existing floor coverings, such as carpet or vinyl.
Preparing the Tiles
Remove the backing paper from a tile and place it in the desired location on the floor. Use a ruler or measuring tape to ensure the tiles are aligned correctly. Press down firmly on the tile to secure it to the floor.
Continue this process until the entire floor is covered.
Trimming and Finishing
Once the tiles are installed, use a sharp utility knife to trim any excess material around the edges of the floor. Seal the edges of the tiles with a silicone sealant to prevent water damage.
Tips and Tricks
- Use a level to ensure the tiles are laid flat.
- Overlap the tiles slightly to create a stronger bond.
- Allow the tiles to cure for 24 hours before walking on them.
Design Ideas
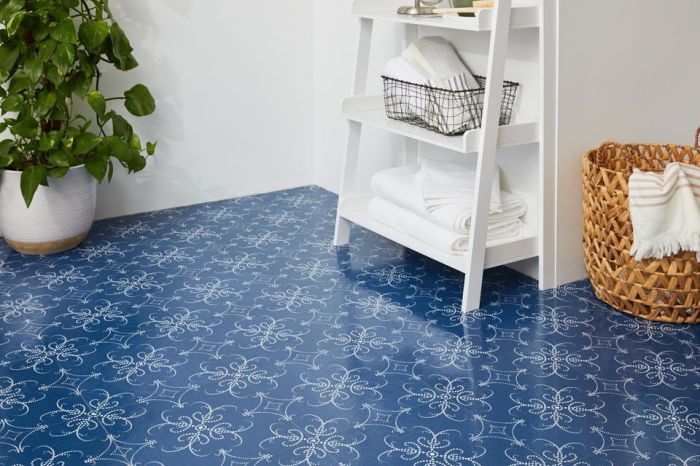
Self-adhesive floor tiles provide endless opportunities for creative bathroom updates. Experiment with different colors, patterns, and textures to create a unique and personalized space.
Consider using contrasting colors to create a bold and eye-catching look. Alternatively, opt for a monochromatic scheme for a more subtle and sophisticated effect.
Patterns
Incorporate geometric patterns, such as hexagons or stripes, to add visual interest to your bathroom floor. For a more organic touch, choose tiles with natural stone or wood-like patterns.
Maintenance and Care
Maintaining the pristine condition of self-adhesive floor tiles is crucial to preserve their beauty and longevity. Regular cleaning and proper care practices will ensure your tiles retain their charm for years to come.
For routine cleaning, simply sweep or vacuum the tiles to remove loose dirt and debris. For deeper cleaning, use a mild detergent or tile cleaner diluted with water. Avoid using abrasive cleaners or harsh chemicals, as they can damage the tiles’ surface.
Extending the Lifespan
In addition to regular cleaning, there are several simple steps you can take to extend the lifespan of your self-adhesive floor tiles:
- Protect the tiles from heavy objects or sharp edges that may scratch or damage them.
- Use felt pads under furniture legs to prevent scratching and indentations.
- Avoid dragging heavy appliances or furniture across the tiles.
- If a tile becomes loose, carefully remove it and re-adhere it using a new adhesive.
- Periodically inspect the tiles for any signs of wear or damage, and address them promptly to prevent further issues.
Closing Summary
With self-adhesive floor tiles, you can achieve a stunning bathroom transformation with minimal effort. Their easy installation and low maintenance make them an ideal choice for busy homeowners and renters alike. So, embark on your bathroom renovation journey today and discover the transformative power of self-adhesive floor tiles.


