Mosaic floor tile borders are not just a practical way to define the edges of your bathroom floor; they can also be a stunning design element that adds personality and style to the space. With a wide range of patterns, materials, and finishes available, there’s a mosaic floor tile border to suit every taste and bathroom décor.
In this guide, we’ll explore the different types of mosaic floor tile borders, the materials they’re made from, and the installation techniques involved. We’ll also provide tips on how to choose the right border for your bathroom and how to care for it properly.
Mosaic Floor Tile Border Designs
Mosaic floor tile borders add a touch of elegance and sophistication to any bathroom. They can be used to frame the entire floor, create a focal point, or simply add a touch of color and pattern.
There are many different patterns and styles of mosaic floor tile borders to choose from. Some of the most popular include:
- Greek key: This classic border design features a repeating pattern of interlocking squares and lines.
- Herringbone: This border design creates a zigzag pattern by alternating the direction of the tiles.
- Chevron: This border design creates a V-shaped pattern by alternating the direction of the tiles.
- Floral: This border design features a repeating pattern of flowers and leaves.
- Geometric: This border design features a repeating pattern of geometric shapes, such as squares, triangles, and circles.
The pattern of the border tile can have a significant impact on the overall look of the bathroom. For example, a Greek key border can create a sense of formality, while a floral border can create a more relaxed and inviting atmosphere.
Materials and Finishes
Mosaic floor tile borders are available in a wide range of materials, each with its own unique advantages and disadvantages. The most common materials used include ceramic, porcelain, glass, and natural stone.
Ceramic
Ceramic tiles are made from clay that has been fired at a high temperature. They are durable, easy to clean, and available in a wide variety of colors and patterns. However, ceramic tiles can be brittle and may chip or crack if they are not properly installed.
Porcelain
Porcelain tiles are made from a finer clay than ceramic tiles and are fired at a higher temperature. This makes them more durable and less porous than ceramic tiles. Porcelain tiles are also more expensive than ceramic tiles.
Glass
Glass tiles are made from recycled glass that has been melted and formed into tiles. They are durable, easy to clean, and available in a wide variety of colors and patterns. However, glass tiles can be slippery when wet and may be more expensive than other types of tiles.
Natural Stone
Natural stone tiles are made from natural materials such as marble, granite, or slate. They are durable, easy to clean, and available in a wide variety of colors and patterns. However, natural stone tiles can be more expensive than other types of tiles and may require special care to maintain.
Finishes
Mosaic floor tile borders are available in a variety of finishes, including glazed, unglazed, and polished.
Glazed
Glazed tiles have a smooth, shiny surface that is easy to clean. Glazed tiles are available in a wide variety of colors and patterns.
Unglazed
Unglazed tiles have a matte finish that is less slippery than glazed tiles. Unglazed tiles are also more durable than glazed tiles and are less likely to chip or crack.
Polished
Polished tiles have a smooth, shiny surface that is reflective. Polished tiles are available in a wide variety of colors and patterns. However, polished tiles can be more slippery than other types of tiles and may require more maintenance.
Installation Techniques
Installing mosaic floor tile borders requires careful planning and execution. Various techniques can be employed, each with its advantages and challenges.
The primary techniques include thin-set mortar, self-adhesive sheets, and peel-and-stick tiles. The choice of technique depends on the type of tile, the substrate, and the desired aesthetic effect.
Thin-Set Mortar
Thin-set mortar is a cementitious adhesive used to bond mosaic tiles to the floor. It provides a strong and durable bond, making it suitable for heavy-traffic areas and wet environments.
- Prepare the substrate by cleaning and leveling it.
- Apply a thin layer of thin-set mortar to the substrate using a notched trowel.
- Place the mosaic tiles into the mortar, pressing them firmly to ensure good adhesion.
- Use spacers to maintain even gaps between the tiles.
- Allow the mortar to cure for 24-48 hours before grouting.
Self-Adhesive Sheets
Self-adhesive sheets have a pre-applied adhesive backing that eliminates the need for thin-set mortar. They are easy to install and can be cut to fit any shape.
- Clean and prepare the substrate.
- Remove the backing paper from the self-adhesive sheet.
- Position the sheet on the substrate and press it firmly into place.
- Use a roller to ensure good adhesion.
- Grout the tiles after 24 hours.
Peel-and-Stick Tiles
Peel-and-stick tiles have a peel-away adhesive backing that makes them quick and easy to install. They are ideal for temporary installations or low-traffic areas.
- Clean and prepare the substrate.
- Peel away the adhesive backing from the tile.
- Position the tile on the substrate and press it firmly into place.
- Use a roller to ensure good adhesion.
- Grout the tiles after 24 hours (optional).
Maintenance and Care
Maintaining mosaic floor tile borders is crucial to preserve their beauty and longevity. Regular cleaning and proper care can prevent damage and keep the borders looking their best.
Cleaning Products
Choose cleaning products specifically designed for mosaic tile surfaces. Avoid harsh chemicals or abrasive cleaners, as they can damage the delicate grout and tiles. Neutral pH cleaners, such as mild dish soap diluted in warm water, are generally safe for most mosaic floor tile borders.
Cleaning Techniques
For routine cleaning, use a soft-bristled brush or sponge to gently remove dirt and debris. Avoid using steel wool or scouring pads, which can scratch the surface. Rinse thoroughly with clean water after cleaning to remove any soap residue.
Preventing Damage
To prevent damage to mosaic floor tile borders:
- Use doormats or rugs to trap dirt and moisture at entrances.
- Avoid wearing shoes with sharp heels or heavy objects on the borders.
- Clean spills and stains promptly to prevent them from setting.
- Protect the borders from heavy furniture or appliances by using floor protectors.
- Seal the grout regularly to prevent moisture penetration and staining.
Inspiration and Examples
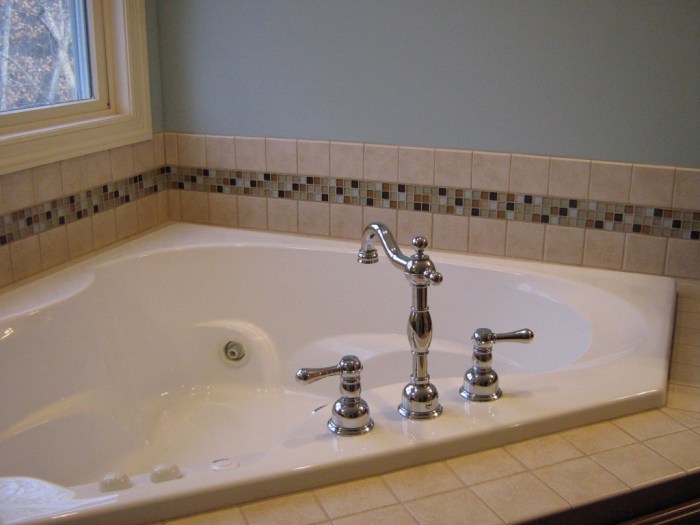
Mosaic floor tile borders add a touch of elegance and sophistication to any bathroom. They can be used to create a variety of looks, from classic to contemporary. Here are a few examples of how mosaic floor tile borders can be used in bathroom design:
Classic Designs
Classic mosaic floor tile borders often feature geometric patterns or floral motifs. They can be used to create a timeless look that will never go out of style. For example, a black and white mosaic floor tile border can add a touch of elegance to a traditional bathroom.
Contemporary Designs
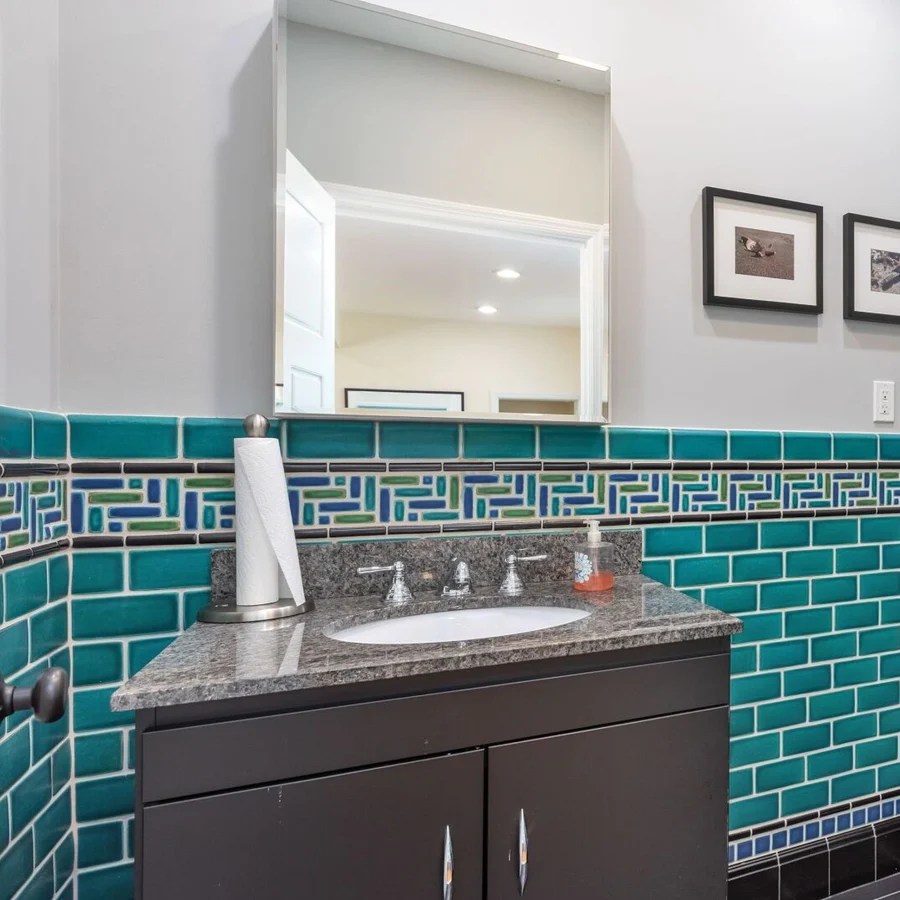
Contemporary mosaic floor tile borders often feature more modern patterns and colors. They can be used to create a more updated look that is still stylish and sophisticated. For example, a blue and green mosaic floor tile border can add a touch of color to a contemporary bathroom.
Accent Borders
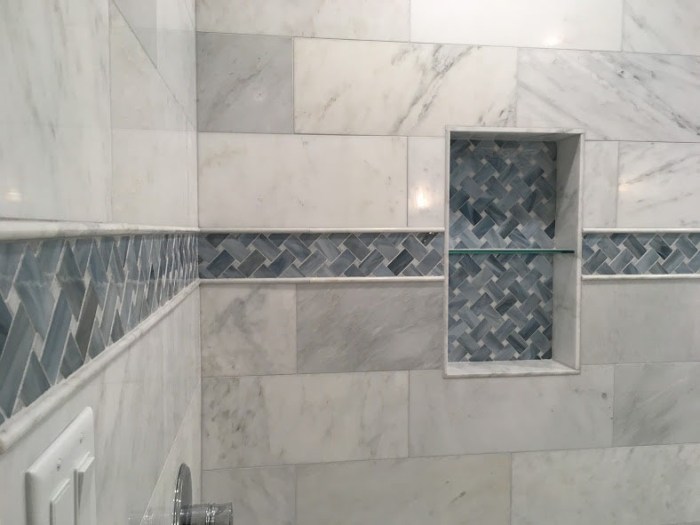
Mosaic floor tile borders can also be used to create accent borders around other features in the bathroom, such as the shower or bathtub. This can help to draw attention to these features and create a more cohesive look. For example, a gold mosaic floor tile border can add a touch of luxury to a bathroom with a white marble shower.
Final Summary
With so many options to choose from, you’re sure to find the perfect mosaic floor tile border to add a touch of elegance and sophistication to your bathroom. So get creative and experiment with different designs until you find the one that perfectly complements your style.


