Installing an inline bathroom exhaust fan is a crucial home improvement project that enhances air quality and prevents moisture buildup. This guide will provide comprehensive tips and step-by-step instructions to help you achieve a successful installation.
Before embarking on this task, it’s essential to prioritize safety and gather the necessary tools and materials. Careful planning and attention to detail will ensure a smooth and effective installation process.
Preparation and Safety Precautions
When working with electrical appliances, safety should be your top priority. Ensure you have the proper safety gear, including gloves, safety glasses, and a face mask, to protect yourself from dust, debris, and electrical hazards. Adequate ventilation is crucial to prevent the buildup of fumes and dust during the installation process.
Choosing the Right Location
Selecting the optimal location for your inline bathroom exhaust fan is essential for effective ventilation. The fan should be placed near the source of moisture and odors, typically above the shower or bathtub. Ensure the location provides sufficient clearance for the fan housing and ductwork.
Tools and Materials
Gather the necessary tools and materials before starting the installation. These may include a screwdriver, drill, wire strippers, electrical tape, and duct tape. You will also need the inline bathroom exhaust fan, ductwork, and mounting brackets.
Electrical Considerations
When installing an inline bathroom exhaust fan, it is crucial to consider the electrical requirements to ensure safe and proper operation.The electrical requirements for the fan will vary depending on its size and model. However, most inline bathroom exhaust fans will require a 120-volt electrical supply.
You will need to connect the fan to a dedicated circuit breaker or fuse to provide adequate power and protection.To connect the fan to the electrical system, you will need to follow the manufacturer’s instructions carefully. Typically, the fan will have two wires: a black wire (hot) and a white wire (neutral).
The black wire should be connected to the hot terminal on the circuit breaker or fuse, and the white wire should be connected to the neutral terminal.It is also important to properly ground the fan. The fan should be connected to a grounding wire, which is typically green or bare copper.
The grounding wire should be connected to the grounding terminal on the circuit breaker or fuse.Proper grounding helps protect against electrical shock by providing a path for excess electricity to flow safely to the ground.
Fan Mounting
Mounting the inline bathroom exhaust fan is crucial for ensuring its proper operation and effectiveness. Here’s a step-by-step guide to help you mount the fan securely:1.
-
-*Determine the mounting location
Choose a suitable location for the fan, considering factors such as airflow, proximity to the moisture source, and accessibility for maintenance.
- 2.
- 3.
- 4.
- 5.
- 6.
-*Cut the ceiling or wall
Use a drywall saw or hole cutter to create an opening in the ceiling or wall where the fan will be installed. Ensure the opening is slightly larger than the fan’s housing to allow for some wiggle room.
-*Install the mounting bracket
Most inline fans come with a mounting bracket that needs to be attached to the ceiling or wall. Secure the bracket using screws or bolts, ensuring it is level and sturdy.
-*Attach the fan to the bracket
Carefully align the fan’s housing with the mounting bracket and secure it in place. Use screws or bolts to tighten the fan to the bracket, ensuring it is held firmly in position.
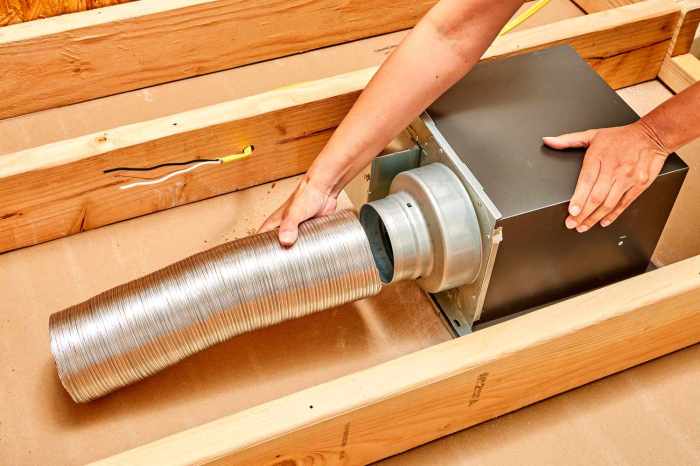
-*Connect the ductwork
Attach the ductwork to the fan’s inlet and outlet ports. Use flexible ducting or rigid ductwork, depending on the specific requirements of your installation. Seal all connections with duct tape to prevent air leakage.
-*Secure the fan and ductwork
Use additional screws or brackets to secure the fan and ductwork in place, preventing them from rattling or moving during operation.
Finishing Touches
Once the fan is mounted and wired, it’s time to add the finishing touches.
This includes connecting the grille, light fixture, and testing the fan to ensure proper operation.
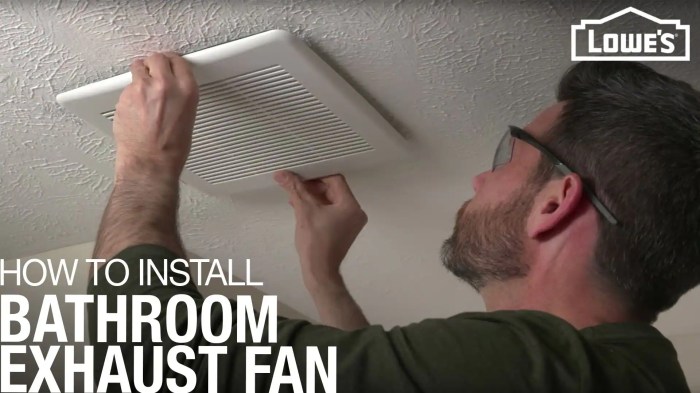
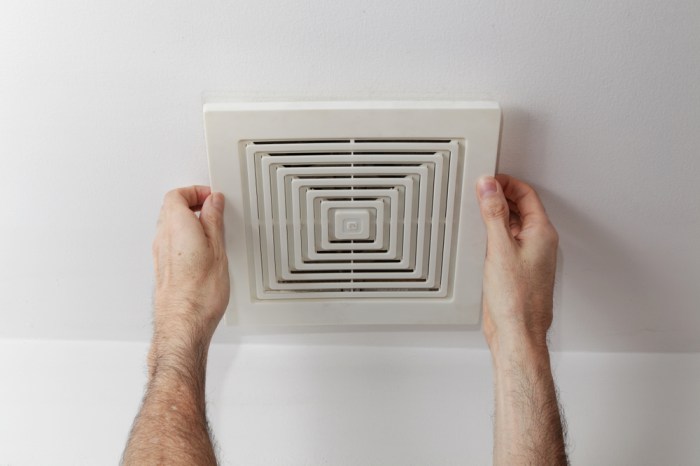
Connecting the Grille
The grille is the visible part of the fan that covers the fan blades and motor. To connect the grille, simply align it with the mounting bracket and snap it into place. Make sure the grille is securely attached and that there are no gaps around the edges.
Connecting the Light Fixture
If your fan has a light fixture, you will need to connect the light fixture to the fan motor. To do this, follow the manufacturer’s instructions carefully. Typically, you will need to connect the wires from the light fixture to the wires from the fan motor.
Once the wires are connected, secure the light fixture to the fan motor.
Testing the Fan
Once the grille and light fixture are connected, it’s time to test the fan. Turn on the fan and check to make sure that it is running smoothly and quietly. Also, check to make sure that the light fixture is working properly.
Troubleshooting Common Issues
Encountering difficulties during inline bathroom exhaust fan installation is not uncommon. By understanding potential problems and their solutions, you can prevent setbacks and ensure a successful installation.
Below are some frequently encountered issues and their respective remedies:
Fan Not Operating
- Problem: Fan is not receiving power.
- Solution: Verify that the circuit breaker or fuse associated with the fan is not tripped or blown. Check that the electrical connections are secure and not loose.
Fan Noisy or Vibrating
- Problem: Fan is not properly mounted or balanced.
- Solution: Ensure the fan is securely attached to the ductwork and mounting bracket. Check for any loose screws or bolts. If the fan is not balanced, it may require professional servicing.
Fan Not Exhausting Sufficiently
- Problem: Ductwork is obstructed or undersized.
- Solution: Inspect the ductwork for any blockages or kinks. Ensure the ductwork is of an appropriate size for the fan’s capacity. Consider cleaning or replacing the ductwork if necessary.
Fan Leaking Water
- Problem: Fan is not properly sealed or condensation is accumulating.
- Solution: Check that the fan housing is securely sealed to the ductwork. Use a sealant or caulk to seal any gaps. If condensation is an issue, consider installing a moisture sensor or vent cover to reduce moisture buildup.
Fan Not Turning Off
- Problem: Timer or switch is malfunctioning.
- Solution: Replace the faulty timer or switch. Ensure the switch is compatible with the fan’s electrical requirements.
Conclusion
By following these tips and addressing potential issues proactively, you can ensure a properly functioning inline bathroom exhaust fan that will effectively ventilate your bathroom, prevent mold growth, and create a healthier indoor environment. Remember to test the fan after installation to verify its functionality and enjoy the benefits of improved air quality and reduced humidity.


