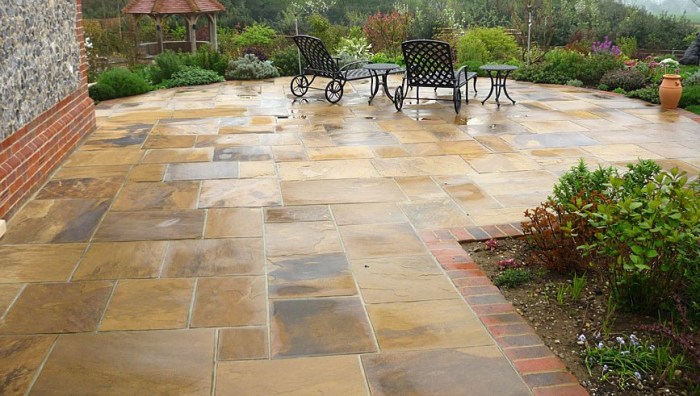
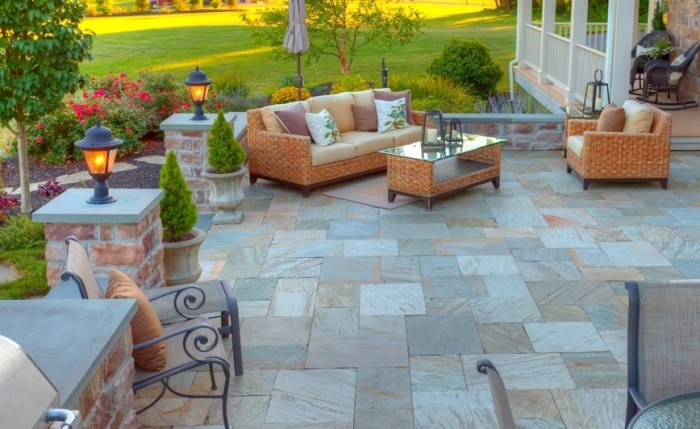
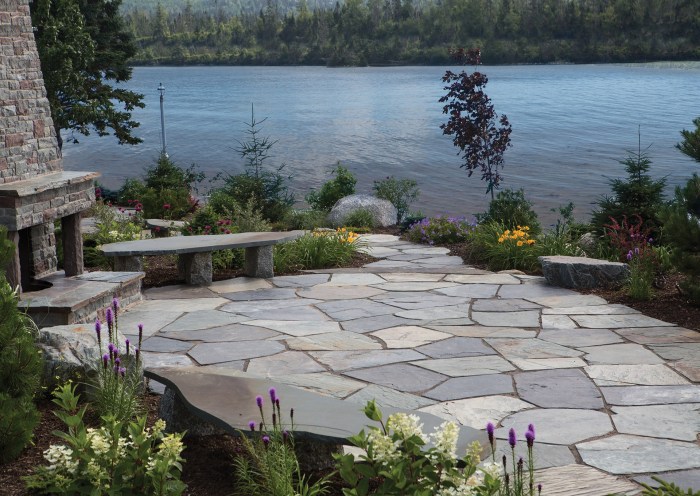
Creating a stone patio is a rewarding project that can transform your backyard into a beautiful and functional outdoor living space. Whether you’re an experienced DIYer or a beginner looking to enhance your landscaping, this guide will provide you with the step-by-step instructions and expert advice you need to build a durable, aesthetically pleasing stone patio that will be the envy of your neighborhood.
From selecting the right materials to troubleshooting common problems, this comprehensive guide covers everything you need to know to successfully complete your stone patio project. So gather your tools, let’s get started, and create the perfect outdoor retreat for you and your loved ones to enjoy for years to come.
Introduction
A stone patio is an excellent addition to any home, offering a durable, aesthetically pleasing, and versatile outdoor living space. Whether you’re looking to create a cozy spot for entertaining guests or simply a place to relax and enjoy the outdoors, a stone patio can meet your needs.
Creating a stone patio involves several steps, including site preparation, laying a base, setting the stones, and grouting. While it’s a project that can be completed by do-it-yourselfers with some experience, it’s always best to consult with a professional to ensure proper installation and longevity.
Benefits of a Stone Patio
- Durability: Stone is an extremely durable material that can withstand heavy foot traffic, weather conditions, and even occasional spills or accidents.
- Aesthetics: Stone patios come in a wide variety of colors, textures, and patterns, allowing you to create a patio that perfectly complements your home’s style and décor.
- Versatility: Stone patios can be used for a variety of purposes, from entertaining guests to dining outdoors to simply relaxing and enjoying the fresh air.
Materials and Tools
Building a stone patio requires careful material selection and the right tools for the job. The choice of materials and tools depends on factors such as the size and style of the patio, the type of stone pavers used, and the local climate.
Materials
The primary materials for a stone patio include:
- Pavers: The most common material for patios, available in various sizes, shapes, and colors.
- Sand: Used as a base layer for leveling and providing drainage.
- Gravel: Provides a stable foundation and helps with drainage.
- Edging: Optional, used to define the perimeter of the patio and prevent pavers from shifting.
When choosing pavers, consider their durability, slip resistance, and aesthetics. Popular options include natural stone (e.g., granite, limestone), concrete pavers, and porcelain pavers.
Tools
Essential tools for building a stone patio include:
- Shovel: For digging and moving materials.
- Rake: For leveling sand and gravel.
- Level: For ensuring a flat surface.
- Compactor: For compacting the base materials.
- Measuring tape: For accurate measurements.
- Safety glasses: For protection from dust and debris.
- Work gloves: For handling materials.
Site Preparation
Laying the foundation for your stone patio is crucial for its longevity and functionality. Site preparation involves selecting the optimal location, excavating and leveling the ground, and ensuring proper drainage.
Location Selection
- Consider factors like sun exposure, wind direction, proximity to the house, and access to utilities.
- Choose a spot that receives ample sunlight if you desire warmth, or partial shade for a cooler environment.
- Ensure the area is not obstructed by trees or other structures that may cast shade or cause drainage issues.
Excavation and Leveling
- Mark the perimeter of the patio and excavate the area to a depth of 6-8 inches.
- Use a level to ensure the ground is level and compact the soil to create a stable base.
- Add a layer of gravel or crushed stone as a base material for drainage and stability.
Drainage
Proper drainage is essential to prevent water accumulation and damage to the patio. Create a slope of 1/4 inch per foot away from the house to allow water to drain.
- Install a drainage pipe or french drain if the ground is particularly prone to waterlogging.
- Consider using permeable pavers or creating a dry creek bed to facilitate drainage.
4. Base Layer
The base layer is a crucial foundation for your stone patio, providing support, drainage, and weed prevention. It typically consists of a compacted layer of gravel or crushed stone.
To install the base layer, begin by spreading a layer of gravel over the prepared site. The thickness of the layer will depend on the size of the patio and the type of stone you’re using. Generally, a thickness of 4-6 inches is recommended.
Compacting the Base
Once the gravel is spread, it needs to be compacted to create a stable and level surface. This can be done using a plate compactor or a hand tamper. Start by compacting the edges of the patio, then work your way towards the center.
Continue compacting until the gravel is firm and no longer moves under pressure.
Geotextile Fabric
To prevent weeds from growing through the base layer and to stabilize the gravel, consider using a geotextile fabric. This fabric is laid down over the compacted gravel before the pavers are installed. It allows water to drain through while preventing weeds and other unwanted materials from infiltrating the base.
Setting the Pavers
With the base layer in place, it’s time to start setting the pavers. This is a crucial step that will determine the overall appearance and functionality of your stone patio. Let’s delve into the details of how to set the pavers.
Begin by spreading a thin layer of bedding sand over the base layer. This sand will provide a stable and level surface for the pavers to rest on. Ensure the sand is evenly distributed and compacted using a plate compactor or hand tamper.
Next, start laying the pavers in your desired pattern. There are numerous patterns to choose from, including running bond, herringbone, basket weave, and circular designs. Select a pattern that complements the style of your home and the overall design of your outdoor space.
As you lay the pavers, ensure they are level and evenly spaced. Use a rubber mallet or paver hammer to gently tap them into place. Check the level regularly using a spirit level or string line to maintain a consistent surface.
Cutting Pavers
To accommodate obstacles such as walls, steps, or curved edges, you may need to cut pavers to fit. Use a wet saw or angle grinder with a diamond blade to make precise cuts. Mark the pavers where you need to cut and wear appropriate safety gear.
When cutting pavers, ensure the cut edge is facing the outside of the patio. This will help conceal any imperfections and maintain a clean and finished appearance.
Finishing Touches
Once the pavers are set, it’s time to finish the patio by filling the joints and sealing the surface. This will protect the patio from the elements and enhance its durability and appearance.
Filling the Joints
The joints between the pavers can be filled with sand or polymeric sand. Sand is a more traditional option that is inexpensive and easy to apply. Polymeric sand is a more expensive option, but it is more durable and helps to prevent weeds from growing in the joints.
To fill the joints with sand, simply spread the sand over the surface of the patio and sweep it into the joints. Use a broom or a stiff brush to work the sand into the joints until they are completely filled.
To fill the joints with polymeric sand, follow the manufacturer’s instructions.
Sealing the Patio
Once the joints are filled, it’s important to seal the patio to protect it from the elements. Sealing will help to prevent water, stains, and UV rays from damaging the pavers.
There are a variety of sealers available on the market, so be sure to choose one that is specifically designed for use on pavers. Follow the manufacturer’s instructions for applying the sealer.
Maintaining the Patio
Once your patio is finished, it’s important to maintain it properly to keep it looking its best. Here are a few tips:
- Sweep or blow off the patio regularly to remove dirt and debris.
- Wash the patio with a mild detergent and water as needed.
- Reseal the patio every few years to protect it from the elements.
Troubleshooting
Patio construction involves several steps, and issues can arise during each phase. Identifying and addressing these problems promptly is crucial for a successful outcome. This section highlights common issues and provides solutions to ensure a durable and aesthetically pleasing patio.
It’s important to note that if you encounter significant structural problems or water damage, it’s advisable to consult with a professional contractor or engineer for proper assessment and repairs.
Cracked or Broken Pavers
- Cause: Excessive weight, improper installation, or ground movement can lead to cracked or broken pavers.
- Solution: Remove the damaged paver and replace it with a new one, ensuring proper leveling and compaction. Use a rubber mallet to gently tap the paver into place.
Drainage Issues
Proper drainage is essential to prevent water pooling and potential damage to the patio. Here are some tips to address drainage issues:
- Grading: Ensure the patio slopes slightly away from the house or other structures to facilitate water runoff.
- French Drains: If water tends to accumulate in certain areas, consider installing a French drain to redirect excess water away from the patio.
- Dry Creek Beds: Creating a dry creek bed filled with gravel or stones can help absorb and channel rainwater.
Design Ideas
Stone patios offer a versatile canvas for creating outdoor spaces that complement any home style. From traditional to contemporary and rustic designs, the possibilities are endless.
Shapes and Sizes
The shape and size of your patio will depend on the available space and your intended use. Rectangular patios are a classic choice, while circular or free-form shapes can add a touch of whimsy. Small patios are ideal for intimate gatherings, while larger patios can accommodate outdoor dining and entertaining.
Materials and Patterns
The type of stone you choose will influence the overall aesthetic of your patio. Natural stones like flagstone, slate, and bluestone offer a timeless appeal, while manufactured pavers provide a more modern look. Consider using different sizes and shapes of pavers to create interesting patterns and add visual interest.
Plants and Lighting
Plants can soften the edges of your patio and create a more inviting atmosphere. Choose plants that are suited to the climate and amount of sunlight your patio receives. Lighting can extend the usability of your patio into the evening hours.
Consider using path lights to illuminate walkways or string lights to create a cozy ambiance.
Accessories
Accessories can add a personal touch to your patio. Outdoor furniture, such as chairs, tables, and benches, provide comfortable seating. Fire pits and water features can create a focal point and add ambiance. Outdoor rugs can define different areas of your patio and add a touch of color and texture.
Last Point
Building a stone patio is an enjoyable and rewarding project that can add value to your home and provide you with a beautiful outdoor space for relaxation and entertainment. By following the steps Artikeld in this guide and utilizing the expert tips and tricks provided, you can create a stunning stone patio that will be a source of pride and enjoyment for years to come.
So what are you waiting for? Get started today and transform your backyard into the outdoor oasis you’ve always dreamed of.


