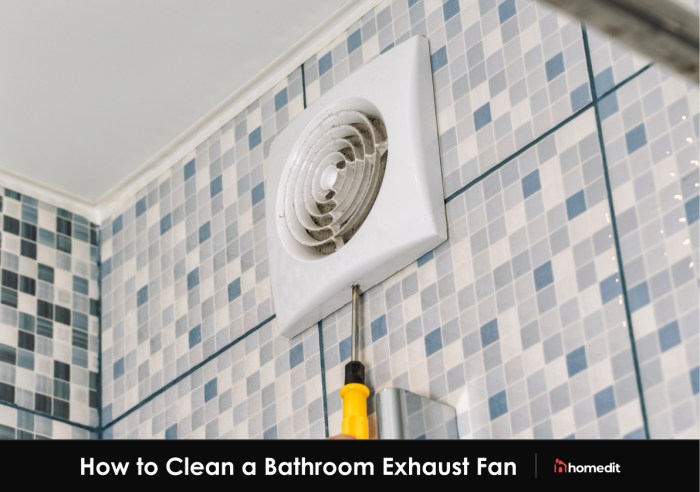
Bathroom exhaust fans are essential for maintaining a healthy and comfortable indoor environment. They help remove moisture, odors, and pollutants from the air, preventing mold and mildew growth. However, over time, exhaust fans can accumulate dust, grease, and other debris, reducing their efficiency and effectiveness.
Regular cleaning is crucial to ensure optimal performance and longevity of your bathroom exhaust fan.
This comprehensive guide will provide you with step-by-step instructions on how to clean bathroom exhaust fans effectively. We will cover everything from identifying the different components of an exhaust fan to troubleshooting common problems. By following these simple steps, you can keep your exhaust fan running smoothly and efficiently for years to come.
Safety Precautions
Ensuring your safety is paramount before commencing any cleaning task. When cleaning bathroom exhaust fans, it is imperative to prioritize safety by adhering to the following precautions:
Firstly, always turn off the power supply to the fan before cleaning. This crucial step prevents the risk of electric shock and ensures a safe cleaning process.
Wearing Gloves and a Mask
To safeguard your hands and respiratory system, don gloves and a mask during the cleaning process. Gloves protect your skin from harsh cleaning agents, while a mask shields your lungs from inhaling dust and debris.
Cleaning Methods
Maintaining a clean bathroom exhaust fan is essential for its optimal performance. Employing the right cleaning methods ensures the removal of dust, debris, and grease, improving airflow and preventing potential fire hazards.
Using a Vacuum Cleaner
Begin the cleaning process by using a vacuum cleaner with a soft brush attachment. Gently vacuum the fan housing, grills, and any accessible areas to remove loose debris, dust, and hair.
Cleaning the Fan Blades
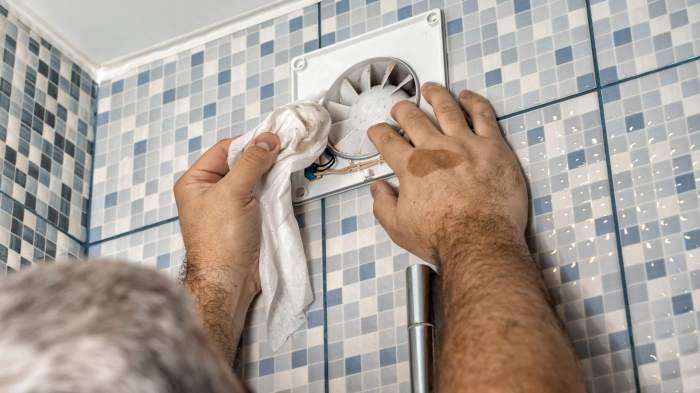
To clean the fan blades, dampen a clean cloth with warm water and gently wipe each blade. Avoid using excessive water or harsh chemicals, as this may damage the blades.
Using a Degreaser
For heavily soiled fans, a degreaser can be used to remove grease buildup. Apply a small amount of degreaser to a clean cloth and carefully wipe the fan blades and housing. Rinse the surfaces thoroughly with clean water to remove any remaining degreaser.
Housing and Grille Cleaning
The housing and grille of your bathroom exhaust fan also accumulate dirt and grime over time. Cleaning them regularly will ensure optimal performance and prevent the buildup of bacteria and mold.
Materials you’ll need:
- Phillips head screwdriver
- Bucket or bowl
- Mild dish soap
- Sponge or soft cloth
- Damp cloth
Removing the Housing and Grille
Before cleaning the housing and grille, you’ll need to remove them from the fan. Here’s how:
- Turn off the power to the fan at the circuit breaker.
- Locate the screws that hold the housing in place and remove them using a Phillips head screwdriver.
- Carefully lift the housing away from the fan, being careful not to damage the wires.
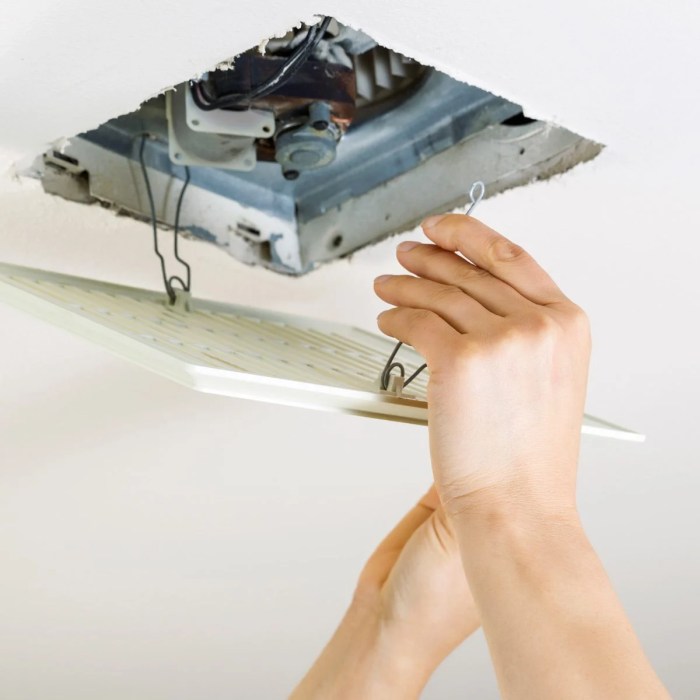
- The grille is typically held in place by clips or screws. Gently pry the grille loose or remove the screws to detach it from the housing.
Cleaning the Housing
Once the housing is removed, you can clean it with soap and water. Here’s how:
- Fill a bucket or bowl with warm water and add a few drops of mild dish soap.
- Dip a sponge or soft cloth into the soapy water and wring it out.
- Wipe down the housing, paying attention to any areas with dirt or grime.
- Rinse the housing thoroughly with clean water and dry it with a clean cloth.
Cleaning the Grille
The grille can be cleaned with a damp cloth. Here’s how:
- Dip a damp cloth into clean water and wring it out.
- Wipe down the grille, removing any dirt or debris.
- Allow the grille to air dry completely before reassembling the fan.
Motor Maintenance
Regularly inspect the motor for any signs of damage, such as loose wires, burnt insulation, or excessive noise. If the motor appears damaged, it’s best to replace it.If the motor is in good condition, you can lubricate it to ensure smooth operation.
Use a few drops of lightweight oil, such as sewing machine oil or turbine oil, and apply it to the motor shaft or bearings. Avoid over-lubricating, as this can attract dirt and dust.
Reassembly and Troubleshooting
Once the fan components are clean, it’s time to reassemble the fan. Ensure all parts are completely dry before reassembly to prevent any electrical issues.
Follow these steps for reassembly:
- Reattach the motor to the housing, ensuring it fits securely.
- Place the fan blades onto the motor shaft and tighten the screws to hold them in place.
- Reinstall the grille over the housing, aligning it correctly.
- Secure the grille with screws or clips.
Troubleshooting
If you encounter any issues after cleaning, here are some common problems and troubleshooting tips:
- Noise: Check for loose components, especially the fan blades or grille. Tighten any loose parts and ensure the fan is securely mounted.
- Vibration: Unbalanced fan blades can cause vibration. Check the blades for any damage or misalignment and adjust them accordingly.
- Fan not running: Check if the power supply to the fan is working. Ensure the switch or circuit breaker is turned on. If the power is on, the motor may be faulty and require replacement.
Summary
Cleaning your bathroom exhaust fan regularly is a simple yet effective way to maintain a healthy and comfortable indoor environment. By following the steps Artikeld in this guide, you can easily remove dust, grease, and other debris from your exhaust fan, ensuring optimal performance and longevity.
Remember to always turn off the power before cleaning and wear gloves and a mask for protection. With a little bit of effort, you can keep your bathroom exhaust fan running smoothly and efficiently for years to come.


