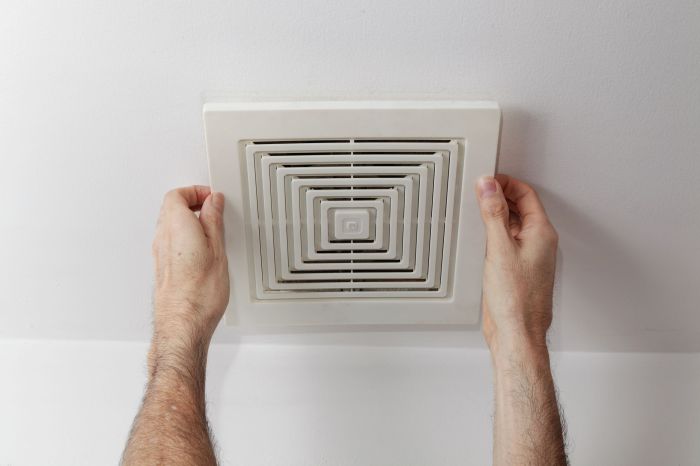
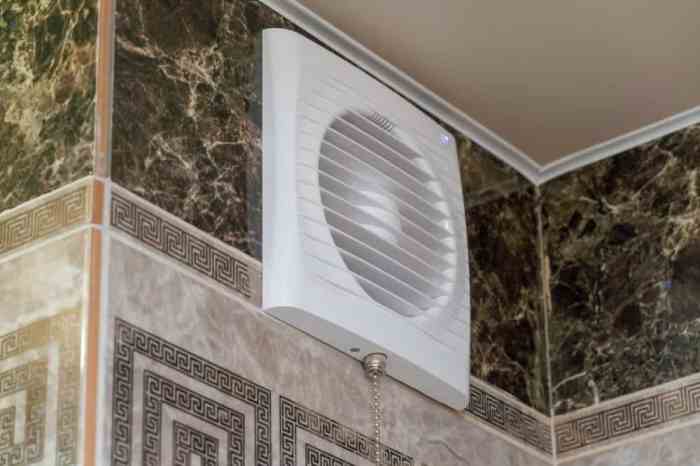
Are you looking to revamp your bathroom’s aesthetics without breaking the bank? Painting your bathroom exhaust fan grille is a simple and affordable way to add a touch of style and personality to your space. In this comprehensive guide, we will provide you with step-by-step instructions, expert tips, and troubleshooting solutions to help you achieve a professional-looking finish.
Whether you’re a seasoned DIY enthusiast or a complete novice, this guide will empower you to transform your bathroom exhaust fan grille with ease.
From selecting the right materials to applying the finishing touches, we’ll cover everything you need to know about painting your bathroom exhaust fan grille. So, grab your brushes and let’s get started on creating a bathroom that reflects your unique style.
Materials Required
Before embarking on your bathroom exhaust fan grille painting endeavor, it is crucial to gather the necessary materials. These include:
Brushes: Opt for a fine-tipped brush for intricate details and a larger brush for broader areas.
Paint: Choose a paint specifically designed for metal surfaces, such as enamel or latex paint.
Cleaning Supplies: Gather cleaning supplies such as a degreaser, a sponge, and a clean cloth for surface preparation.
Safety Gear: Wear appropriate safety gear, including gloves, a mask, and safety glasses, to protect yourself from fumes and paint particles.
Paint Selection
When selecting paint for your bathroom exhaust fan grille, consider the following factors:
- Color: Choose a color that complements your bathroom’s decor.
- Finish: Opt for a glossy finish for a sleek and modern look or a matte finish for a more subtle and classic appearance.
- Durability: Ensure the paint you choose is resistant to moisture and heat, as the bathroom environment can be humid and warm.
Preparation
Before starting to paint your bathroom exhaust fan grille, it is essential to prepare the surface to ensure a smooth and professional finish. This involves cleaning, sanding, and masking off the surrounding areas.
Cleaning
Begin by removing any dirt, dust, or grime from the grille using a damp cloth or sponge and a mild cleaning solution. Allow the grille to dry completely before proceeding to the next step.
Sanding
Lightly sand the surface of the grille using fine-grit sandpaper (120-150 grit). This will create a slightly roughened surface that will help the paint adhere better. Be careful not to sand too aggressively, as this could damage the grille.
Masking Off Surrounding Areas
Use painter’s tape to mask off any areas surrounding the grille that you do not want to paint. This includes the ceiling, walls, and any fixtures or fittings. Press the tape down firmly to ensure a good seal.
Paint Selection
Choosing the right paint for your bathroom exhaust fan grille is crucial for achieving a durable and aesthetically pleasing finish. Consider the following types of paint:
- Latex Paint: Water-based, easy to apply, dries quickly, and available in various colors and finishes.
- Enamel Paint: Oil-based, provides a glossy, durable finish, but requires longer drying time and emits fumes.
- Spray Paint: Convenient and provides an even finish, but requires ventilation and proper application techniques.
Color and Finish
Select a paint color that complements the bathroom decor. Consider the following factors:
- Moisture Resistance: Choose a paint with a moisture-resistant finish to withstand bathroom humidity.
- Light Reflection: A light-colored paint reflects light, making the bathroom appear brighter.
- Gloss Level: A glossy finish is easier to clean and reflects more light, while a matte finish conceals imperfections.
Painting Techniques
Painting the bathroom exhaust fan grille requires careful attention to detail to achieve a smooth, even finish. Here’s a step-by-step guide to help you paint your grille effectively:
Primer Application
Before applying paint, it’s essential to apply a coat of primer. Primer helps create a strong bond between the paint and the metal surface, ensuring durability and preventing peeling or chipping. Choose a primer specifically designed for metal surfaces and follow the manufacturer’s instructions for application.
Base Coat Application
Once the primer has dried, you can apply the base coat. Choose a paint color that complements your bathroom décor and the surrounding surfaces. Use a high-quality paint brush or roller designed for metal surfaces. Apply thin, even coats, allowing each coat to dry completely before applying the next.
Clear Coat Application
To protect the paint finish and enhance its durability, apply a clear coat. Choose a clear coat specifically designed for metal surfaces. Apply thin, even coats, allowing each coat to dry completely before applying the next. The clear coat will create a glossy, protective finish that will resist moisture and wear.
Maintenance and Care
Maintaining your painted bathroom exhaust fan grille is essential to keep it looking its best and functioning properly.
Regular cleaning will help prevent dirt and dust buildup, which can clog the grille and reduce airflow. Additionally, touch-ups may be necessary over time to maintain the paint’s appearance.
Cleaning
- Use a soft cloth or brush to gently remove any loose dirt or dust from the grille.
- For deeper cleaning, use a mild detergent and warm water solution. Apply the solution to the grille using a sponge or cloth and wipe gently.
- Rinse the grille thoroughly with clean water and dry it completely with a clean cloth.
Touch-ups
- If the paint on the grille becomes chipped or scratched, it’s important to touch it up promptly to prevent further damage.
- Use the same type of paint you used for the original painting and apply it sparingly to the affected area using a small brush.
- Allow the touch-up paint to dry completely before using the exhaust fan.
Last Recap
Congratulations on completing your bathroom exhaust fan grille painting project! By following the steps Artikeld in this guide, you’ve successfully added a touch of elegance and functionality to your bathroom. Remember to maintain your painted grille regularly to keep it looking its best for years to come.
With a little care and attention, your bathroom exhaust fan grille will continue to enhance the aesthetics of your bathroom for many years to come. We encourage you to share your before and after photos with us, and if you have any further questions, don’t hesitate to reach out.
Happy painting!


