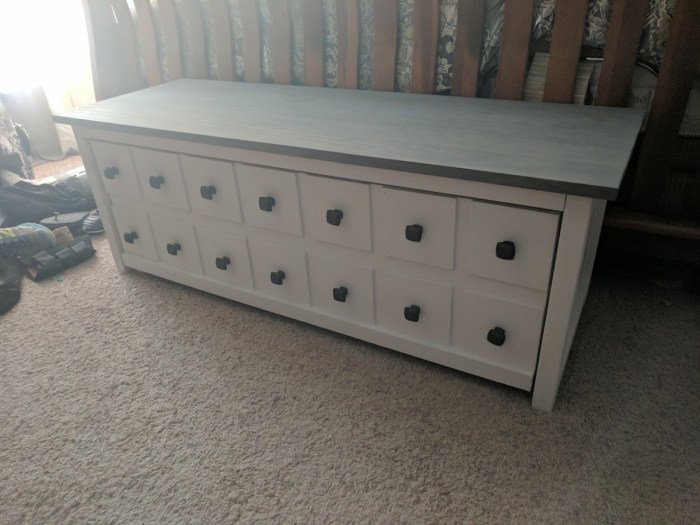
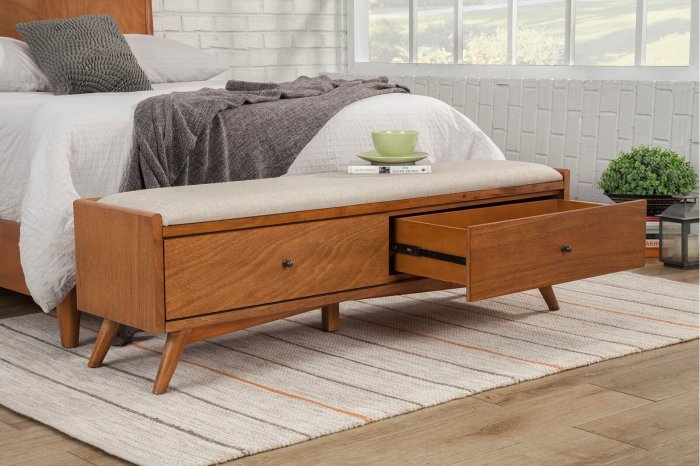
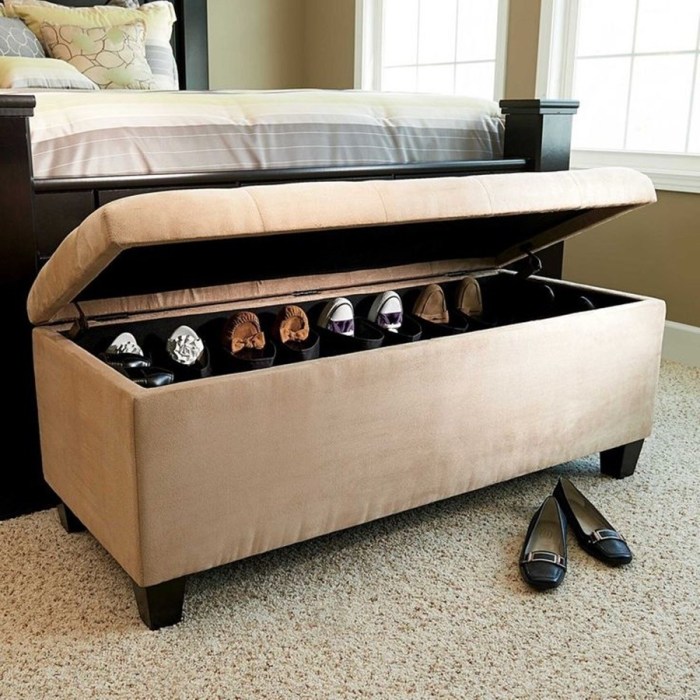
Transform your bedroom into an organized and stylish haven with DIY storage bench projects. These custom-made solutions offer a unique blend of functionality and aesthetics, providing ample storage space while complementing your bedroom decor. Whether you’re a seasoned DIY enthusiast or just starting out, this guide will empower you to create a personalized storage bench that meets your specific needs and enhances the ambiance of your sleeping sanctuary.
With careful planning, selecting the right materials, and following detailed step-by-step instructions, you can embark on a rewarding DIY journey that results in a practical and stylish addition to your bedroom. Get ready to maximize space, declutter your belongings, and elevate the aesthetics of your sleeping quarters with these inspiring DIY storage bench project ideas.
Introduction
DIY bedroom storage bench projects involve creating custom-made benches that incorporate storage solutions, such as drawers, shelves, or compartments, to maximize space utilization and enhance the functionality of a bedroom. These projects offer numerous benefits, including:
Customizable design: Tailor the bench to specific storage needs, size, and aesthetic preferences, ensuring a perfect fit for the bedroom’s layout and decor. Increased storage capacity: Create additional storage space without cluttering the room, providing ample room for blankets, pillows, clothing, or other belongings.
Enhanced organization: Designate specific compartments for different items, promoting orderliness and reducing clutter, making it easier to find what is needed. Versatile functionality: Utilize the bench not only for storage but also as a comfortable seating option, adding an extra layer of functionality to the bedroom.
Design Considerations
To ensure that your DIY bedroom storage bench is both stylish and functional, it’s crucial to consider the design carefully. Here are some key factors to keep in mind:
Size: Measure the available space in your bedroom to determine the appropriate size for the bench. Consider the length, width, and height to ensure it fits comfortably without overcrowding the room.
Style
- Modern: Clean lines, geometric shapes, and neutral colors create a contemporary look.
- Traditional: Intricate carvings, turned legs, and warm finishes evoke a classic and elegant style.
- Rustic: Reclaimed wood, metal accents, and distressed finishes give a cozy and charming feel.
Functionality
- Storage Capacity: Determine the amount of storage space you need. Consider using drawers, shelves, or a combination of both.
- Cushioned Top: If you plan to use the bench for seating, add a cushioned top for added comfort.
- Multi-Purpose: Design the bench to serve multiple purposes, such as a storage unit, footrest, or even a coffee table.
Materials and Tools
To ensure a successful and efficient project, it is essential to gather the appropriate materials and tools. Each item plays a specific role in the construction and assembly of your DIY bedroom storage bench.
The materials and tools required for this project can be categorized as follows:
Essential Materials
- Wood: Select high-quality, durable wood for the frame and panels. Common choices include pine, oak, or plywood.
- Plywood or MDF: Used for the top surface, providing a smooth and sturdy base for storage items.
- Hardware: Includes hinges, screws, nails, and bolts for assembling the bench and attaching the lid.
- Wood Glue: Strengthens the joints and ensures a solid structure.
- Finish: Paint, stain, or varnish to protect the wood and enhance its appearance.
Essential Tools
- Saw: Circular saw or miter saw for cutting the wood to precise lengths and angles.
- Drill: For creating holes for screws and bolts.
- Screwdriver: To drive screws and bolts securely.
- Clamps: To hold pieces together while assembling and gluing.
- Measuring Tape: For accurate measurements and ensuring proper alignment.
- Level: To ensure the bench is level and balanced.
Step-by-Step s
Now that you have gathered your materials and designed your bench, it’s time to start building! Follow these detailed s with clear instructions and helpful illustrations to create a sturdy and stylish storage bench for your bedroom.
Remember to take your time and work carefully, especially when using power tools. Safety first!
Prepare the wood
Start by cutting the wood pieces to the desired lengths and widths. Use a saw or a miter saw for precise cuts. Sand the edges of the wood to remove any splinters or rough edges.
Assemble the frame
Lay out the side panels and connect them with the front and back panels using wood screws or nails. Make sure the corners are square and the frame is sturdy.
Attach the seat supports
Cut the seat supports to the appropriate length and attach them to the inside of the frame. These supports will hold the seat in place.
Install the seat
Cut the seat to the desired size and attach it to the seat supports using wood screws or nails. Ensure the seat is level and securely fastened.
Add the lid
Cut the lid to the same size as the seat and attach it to the frame using hinges. The lid should open and close smoothly.
Finishing touches
Sand the entire bench to smooth out any rough edges. You can paint or stain the bench to match your bedroom decor. Add decorative elements such as handles or trim to complete the look.
Customization Ideas
The DIY storage bench can be personalized to suit your individual style and needs. With a little creativity, you can create a unique and functional piece of furniture that will complement your bedroom decor.
Here are a few ideas for customizing your storage bench:
Add Upholstery
Upholstering the seat of the bench is a great way to add comfort and style. You can choose from a variety of fabrics, including leather, velvet, or linen. If you’re feeling adventurous, you can even try upholstering the bench with a patterned fabric.
Add Trim
Adding trim to the edges of the bench is a simple way to give it a more finished look. You can use wood trim, metal trim, or even fabric trim. If you’re using wood trim, you can paint or stain it to match the rest of the bench.
Add Hardware
Hardware can be used to add both style and functionality to your storage bench. You can add handles or knobs to the drawers or doors, or you can add hooks to the sides of the bench for hanging storage baskets.
Add Storage Baskets
Storage baskets are a great way to add extra storage to your bench. You can use baskets made from a variety of materials, including wicker, fabric, or metal. Baskets can be used to store anything from blankets and pillows to toys and games.
Troubleshooting Tips
Even the most experienced DIYers can encounter challenges during a project. Here are some common problems you may face when building your DIY bedroom storage bench, along with solutions and advice for overcoming them:
Uneven or Wobbly Bench
- Ensure all joints are securely tightened and reinforced with wood glue or screws.
- Check if the legs are of equal length and make any necessary adjustments.
- Place the bench on a flat surface to check for stability. If it still wobbles, add additional support by attaching a stretcher or crossbar between the legs.
Difficult to Open or Close Lid
- Check if the hinges are properly aligned and lubricated. Adjust the hinges or apply a lubricant to ensure smooth movement.
- Make sure the lid is not warped or obstructed by any objects.
- Consider adding a small latch or magnetic closure to keep the lid securely shut.
Drawer Sticking or Not Closing Properly
- Check if the drawer slides are properly installed and aligned.
- Make sure the drawer is not overloaded or obstructed by any objects.
- Apply a lubricant to the drawer slides to reduce friction.
Cracked or Split Wood
- Use high-quality wood that is free from knots or defects.
- Drill pilot holes before driving screws to prevent splitting.
- If a crack occurs, repair it with wood glue or epoxy.
Conclusion
Congratulations on completing this guide to DIY bedroom storage benches! With a little planning and effort, you can create a functional and stylish piece of furniture that will help you keep your belongings organized and out of sight. Remember, the key to a successful DIY project is to take your time, measure carefully, and don’t be afraid to ask for help if needed.
We encourage you to use your creativity and customize your storage bench to fit your own needs and style. Whether you’re looking for a simple and practical solution or a more elaborate and decorative piece, there’s a DIY storage bench project out there for you.
So what are you waiting for? Get started today and enjoy the satisfaction of creating something unique and functional for your home.
Last Point
As you embark on your DIY storage bench project, remember to embrace creativity and personalization. Experiment with different designs, materials, and finishes to create a piece that truly reflects your style. Whether you prefer a rustic wooden bench with ample storage compartments or an upholstered bench with a touch of elegance, the possibilities are endless.
The key is to find a design that complements your bedroom decor and meets your functional needs. So, gather your tools, unleash your creativity, and transform your bedroom into a haven of organization and style with these inspiring DIY storage bench project ideas.


