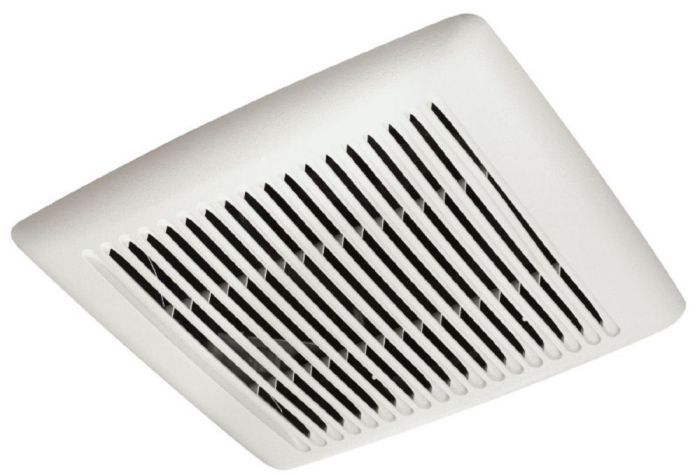
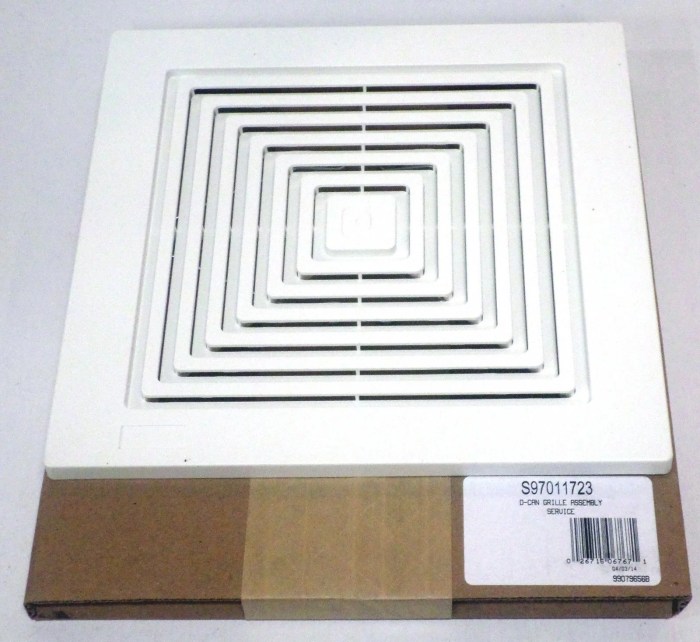
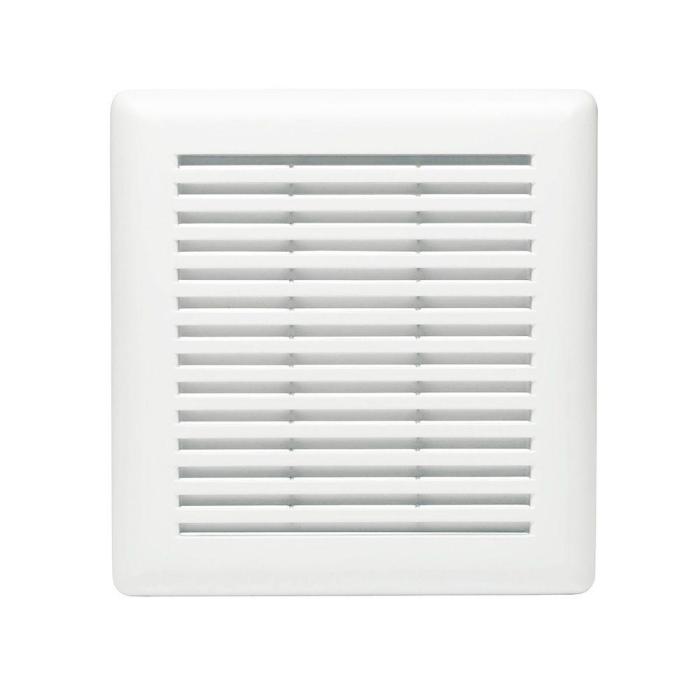
Maintaining a healthy and comfortable bathroom environment is crucial for your well-being. A vital component in achieving this is ensuring proper ventilation, which is where a bathroom exhaust fan comes into play. Its grille, an often overlooked yet essential part, plays a significant role in optimizing airflow and preventing moisture buildup.
This comprehensive guide will provide you with a step-by-step approach to replacing your bathroom exhaust fan grille, empowering you to enhance your bathroom’s functionality and aesthetics.
Replacing your bathroom exhaust fan grille offers numerous benefits, including improved ventilation, enhanced air quality, reduced moisture and odor, and an updated appearance. With various grille designs available, you can seamlessly match your bathroom’s decor while ensuring optimal performance.
Bathroom Exhaust Fan Grille Replacement Guide Overview
Bathroom exhaust fan grilles play a crucial role in maintaining a healthy and comfortable bathroom environment. They facilitate the removal of excess moisture, odors, and pollutants from the air, preventing mold and mildew growth and improving indoor air quality.Replacing a bathroom exhaust fan grille offers several benefits, including enhanced airflow, improved aesthetics, and increased durability.
Various grille designs are available, ranging from traditional to modern styles, allowing you to choose one that complements your bathroom décor.
Step-by-Step Guide to Replacing a Bathroom Exhaust Fan Grille
Replacing a bathroom exhaust fan grille is a relatively simple task that can be completed in a few minutes. By following these steps, you can ensure that your bathroom exhaust fan is working properly and looking its best.
You will need the following tools and materials:
- New bathroom exhaust fan grille
- Screwdriver
- Tape measure or ruler
- Pencil or pen
Step 1: Remove the Old Grille
To remove the old grille, simply unscrew the screws that are holding it in place. The screws are typically located on the inside of the grille, so you will need to use a screwdriver to remove them.
Step 2: Measure the Opening
Once the old grille has been removed, you will need to measure the opening to determine the size of the new grille that you need. Use a tape measure or ruler to measure the width and height of the opening.
Step 3: Install the New Grille
To install the new grille, simply align it with the opening and screw it into place. The screws should be tightened until the grille is secure.
Step 4: Test the Grille
Once the new grille is installed, test it to make sure that it is working properly. Turn on the exhaust fan and check to see if the grille is drawing air out of the bathroom.
Tools and Materials Needed for Bathroom Exhaust Fan Grille Replacement
Replacing a bathroom exhaust fan grille is a simple task that can be completed in a few minutes with the right tools and materials. Here’s a list of everything you’ll need:
- New bathroom exhaust fan grille: Choose a grille that is the same size and shape as your old one.
- Screwdriver: A Phillips head screwdriver is typically used to remove the screws that hold the grille in place.
- Drill or hammer drill: A drill or hammer drill may be needed to create pilot holes for the new screws, especially if you are installing the grille in a new location.
- Screws: Use screws that are the same size and length as the ones that are currently holding the grille in place.
- Caulk gun: A caulk gun is used to apply caulk around the edges of the new grille to seal it and prevent air leaks.
- Caulk: Use a caulk that is designed for use in bathrooms, such as a silicone-based caulk.
- Painter’s tape: Painter’s tape can be used to protect the wall around the grille from caulk.
Safety Precautions for Bathroom Exhaust Fan Grille Replacement
When replacing a bathroom exhaust fan grille, it is essential to prioritize safety. Electrical work poses potential hazards, and proper precautions should be taken to prevent accidents and injuries.
Electrical Hazards
* Ensure the power supply to the exhaust fan is turned off at the circuit breaker or fuse box before beginning any work.
- Never attempt electrical work if you are not qualified or experienced. Contact a licensed electrician for assistance if necessary.
- Avoid touching any exposed wires or electrical components.
- Use insulated tools and wear rubber gloves for added protection.
Other Precautions
* Wear safety glasses to protect your eyes from debris or sharp edges.
- Use a sturdy step stool or ladder to reach the exhaust fan grille safely.
- Be aware of any sharp edges on the grille or surrounding area.
- Handle the grille carefully to avoid damaging it or causing injury.
Additional Tips and Considerations for Bathroom Exhaust Fan Grille Replacement
In addition to the steps Artikeld above, there are a few more tips and considerations to keep in mind when replacing a bathroom exhaust fan grille.
When choosing a new grille, consider the size, shape, and finish. The grille should be the same size as the old one and fit snugly into the opening. The shape should complement the style of your bathroom, and the finish should match the other fixtures in the room.
Maintenance and Cleaning
To keep your bathroom exhaust fan grille looking its best, clean it regularly. Use a mild soap and water solution and a soft cloth to wipe down the grille. Avoid using harsh chemicals or abrasive cleaners, as these can damage the finish.
Final Conclusion
Replacing your bathroom exhaust fan grille is a straightforward task that can significantly impact your bathroom’s comfort and functionality. By following the step-by-step guide Artikeld above, you can confidently tackle this project, ensuring proper ventilation and a refreshed look for your bathroom.
Remember to prioritize safety and consider additional tips to maintain the grille’s performance over time. With a newly installed exhaust fan grille, you can enjoy a healthier and more inviting bathroom environment.


